2.22.2017

A Happy, Golden Kitchen


From the time I first read it as a girl, I was enchanted with the passage from Laura Ingalls Wilder's These Happy Golden Years at the very end of the book where Laura describes the little pantry Almanzo had built for her. It was full of thoughtful design elements with shelving, cabinets, "drawers of different sizes" perfectly arranged for her staple ingredients. She says of these compartments, "How handy!" and I remember longing for such a handy space as this.

We've lived in this home for five years now, long enough to know how we tend to live in and use the space. We made a few significant improvements to the space along the way, most notably, removing the wall between the smallish kitchen and the dining room and adding a large peninsula and extra drawers between the two, which increased the usefulness for us for quite some time as we waited until we were able to renovate the entire space.

And, oh, what a frustrating space this proved to be! The footprint of the room seemed to consternate at every attempt to configure the space to accommodate our large family (6 children now) with its many home cooked meals, homemade breads and treats, and multiple helpers working at once. There were months of plotting and hair-pulling and brainstorming! Finally, we came up with a solution that felt just right, one that improved the space and didn't feel like we were compromising on our most desired solutions.

My own Almanzo is building this space, including all the cabinets, himself. It is coming together slowly but surely. He set up our old sink temporarily on the far wall of our dining room, which is a real blessing in what might otherwise have been months of misery without a kitchen sink. As it stands, it is just months of mild frustration as we walk the gauntlet from the still thus intact cook wall, snaking around the new cabinet boxes waiting for their permanent homed, and to the sink and wall of old cabinet storage for dishes.

In looking over some old files, it occurred to me that it has been almost a year since I posted my original kitchen design idea on the Gardenweb forums to ask for help and input! I am pretty sure I've been immersed mentally in all things kitchen ever since. Like I said, it took a lot of hair pulling and a couple of epiphanies to find the layout we ended up with. The scale of the project creeped in that time, including a small addition out onto a corner of our screened in porch to create what we named our "baking alcove," but the addition gave us a confidence in the project we'd previously faltered on and feels like exactly what we needed to do to make the space the most it could be for us long-term and still be something we can manage today.

I am excited, to say the least, and I look forward to journaling more about this and the ways this project is inspiring our home and garden life.

1.18.2013

Garden Planning for Mom {and the Little Ones, Too!}

January is that cozy time of gardening when all the seed catalogs come pouring in, and you get to dream and plant your perfect garden all in your head, full of new and exciting varieties!

And then you get to look at the seeds you already have, the space you have, the money you have (those packets of exotic little cultivars add up fast!), and modify your lists.

And THEN you get to go about penciling and sketching in order to figure out how you want it to all come together. It inevitably changes as some seedlings fail or others thrive or you just succumb to whimsy. But I have to say that I really love the initial planning stage for all that I might deviate down the road!


Here is my cozy little corner of the couch where I've been doing my planning.


I didn't get a shot of it when it was literally plastered in seed catalogs as I navigated the mind boggling task of deciding just what to order from where! But you can see my first arrival of seeds from Renee's Garden peeking from the box. Such pretty little packages! I used quart sized ziplock to sort the seeds in the box by category (Winter Sowing, Start Indoors, Direct Sow Early, and Direct Sow Late).


I tried keeping my plans in a binder last year, and I just am not a good manager of loose-leaf paper. I've had good luck with keeping a little notebook for household matters in recent months, so I decided to move my garden planning notes to a composition notebook. I taped my plan into the front with my beds lettered off. I really need to update this plan to be more accurate, but for the time being, I just have lots of things scribbled out and others penciled in.


I have a page for each bed marked off with tabs, and I use my sticky notes (the small kind cut in half) for my square feet. I find planning for square foot gardening, even if I modify a bit, is the simplest and gives me a good idea of how much I can squeeze into a bed comfortably! I can move my squares around, and I can add stickies for successive plantings on top of the squares there so I am keeping an ongoing record.

The green tabs are for a calendar, plotting section for quick notes about what we have done when, a page per month, and a section for brainstorming and notes about the potager as well as a third section for notes and ideas for general landscaping around the property. I kept my binder for saving print outs from web articles I want to keep handy.

I was pretty absorbed in my planning for a few days, and my boys were constantly telling me how they wanted to plan THEIR gardens, too. I put them off for a while, but when I realized just how long I'd put them off and feared their losing interest, I quick came up with a plan.

Since we use our modified version of Square Foot Gardening after using it successfully in our little city garden at our former home. We decided that it would be the easiest method for the boys to use, so we have planned that they will each get their own little 4x4 beds to plant this Spring. I have two enthusiastic non-readers, and so I came up with the following plan.

After realizing how pricey stickers were and how it would mean waiting even longer for them to arrive, I had the idea to cut up last year's catalog from John Scheeper's Kitchen Garden Seeds, full of dainty watercolor and pen and ink illustrations of the plants featured. I made a quick table in Word with 2x2 inch squares representing square feet in their 4x4 inch beds. I hastily glued down my cutouts and scribbled the names of the plants, scanned, and printed the sheets so they could cut out the plants they want and place them on their own plots.


I printed blank tables on cardstock, and the boys went to it, cutting and arranging.


I examined each of them prior to gluing, helped them make judicious choices about placement concerning the size of the plants and the need for trellising.

It was a fun project, and the prep work did not take so much time. They didn't seem to mind the few veggies that were oriented upside down, defying gravity!


 I put their plans in plastic sleeves in a binder, and we will see if I get them interesting in keeping further notes about their gardening choices this Spring. We need to develop these habits early so they aren't like their mother, struggling to recall things she was sure wouldn't forget last year!

1.15.2013

Oh Bother.

Gardening really is involved. When you are juggling the life of a young family with gardening, well, I haven't figured out how one is able to effectively blog about it, too.

However, if I want to embrace this whole gardening thing, and I do, I need to get better at record keeping. And while I have simplified my notebook this week so that I can hopefully improve in preserving the nitty-gritty, it occurred to me that even without writing stuff down, I did take copious amounts of pictures, which are date tagged, so going through that should give me a good idea of when I did what last go around.

And truly, is there an easier medium for organizing pictures while making notes on them? I figure I might as well use my blog as a tool.

So I will. And it will be messy. Believe me, this post is a picture heavy MESS. But it is a tool. And if it means I can share some of our adventure with friends and family in the process, all the better!

Now, I did blog about the gardening book, Elements of Garden Design. And I did love it, and it really helped. I can't recall exactly how I applied it to this project at this point. Truly, my husband and I were just talking about how completely shocked we are when we have stumbled across pictures from our garden last year! "Whoa! Did we really do all that?" Because right now, its a bunch of wood chips and cinder-block with some swiss chard and a row of brown asparagus waiting to be cut down.

This time last year, there was nothing. Well, there was a big, leaning tree very much in the way of our plans. And while we share the neurotic fear of westerners that every time we cut down a tree we are somehow complicit in the mass exploitation of the rain forests in South America, we were forced to admit that when it came down, it was an improvement beyond the fact that it allowed our garden.

Then, at the end of February, we had little else except some posts at ten foot intervals that my husband lovingly called the Appian Way. We're pretty sure the neighbors were terrified. I don't have a good picture, but I did take some pictures of some of my early winter sowing experiments a week or so later, and you can see the eery posts in the background.


 As the month of March wore on, my husband was a wonder and brought our vision to life in spite of his host of "helpers."


Meanwhile, I planted seeds in milk jugs and didn't write a single thing down on paper.


We got a bunch of woodchips from the tree that came down, but I think it must have been in this time that I located our source for garden soil and free (!) woodchips.


I'm pretty sure we spent the entire month of April moving woodchips.


Aaaand that brings us up to the point where I planted strawberries.


6.18.2012

We Really Should Be Writing This Stuff Down...


So says my better half.

Of course, that was why I started this journal...

Anyway. I'm going to try and play a bit of catch-up.

Here is the massive bed of potatoes, looking toward the porch.

I've never grown potatoes before. There don't seem to be any spuds visable, and they seem happy, but we wonder if they need more dirt?

And here are some shots I took from the porch, through the screen, a week or more ago.


 I love my hydrangea. It is a very vibrant pink right now, and there is more of it now than when the photo was taken. I do think they started out pink last year as well and turned blue as the summer wore on.


We also decided to move the round table to the space where the red bench is in this photo, and we like it better. The view is lovelier unless you happen to be the unlucky one stuck at the seat facing the fence!


Here is a shot from this morning, and you can see how different things look now.


This weekend, we finally got around to corralling the run away tomatoes, cucumbers, and winter squashes. Paul and his favorite 15 month old assistant drove to Tractor Supply first thing Saturday and bought a couple of cattle panels and some fencing stakes.


It only took a few minutes to provide some vertical structure to contain the sprawling squash plants. It is hard to see in the picture, but if you look closely, you can see there are three panel pieces in this  bed. Two make a V to support the spaghetti squash. They were already massive and too unwieldy to try and train very differently from the direction they were headed, but the V shape keeps them off the ground and tidy. They've already grown up and over the edge since Saturday!

There is also a panel perpendicular to the V, and there are cucumbers growing on it vertically.

The sun dial came with the house but was a little lost out back in the shade, so we gave it a new home.


Then Paul found enough long pieces of scrap wood to rip down for staking tomatoes. I used a technique I saw from an old issue of Martha Stewart where you use 5 stakes per plant and then wrap the string in a star pattern.
My first marigold blossoms are peaking out!

Our stakes were a little wobbly, so they ended up shaped a bit like a teepee. I think that once the plants relax and are accustomed to their loss of freedom they won't look so much like "little fat ladies in tight dresses" to quote my dearest. Their wobbliness and varying heights make them a little less Martha Stewart like, but we do like the look of the staking.


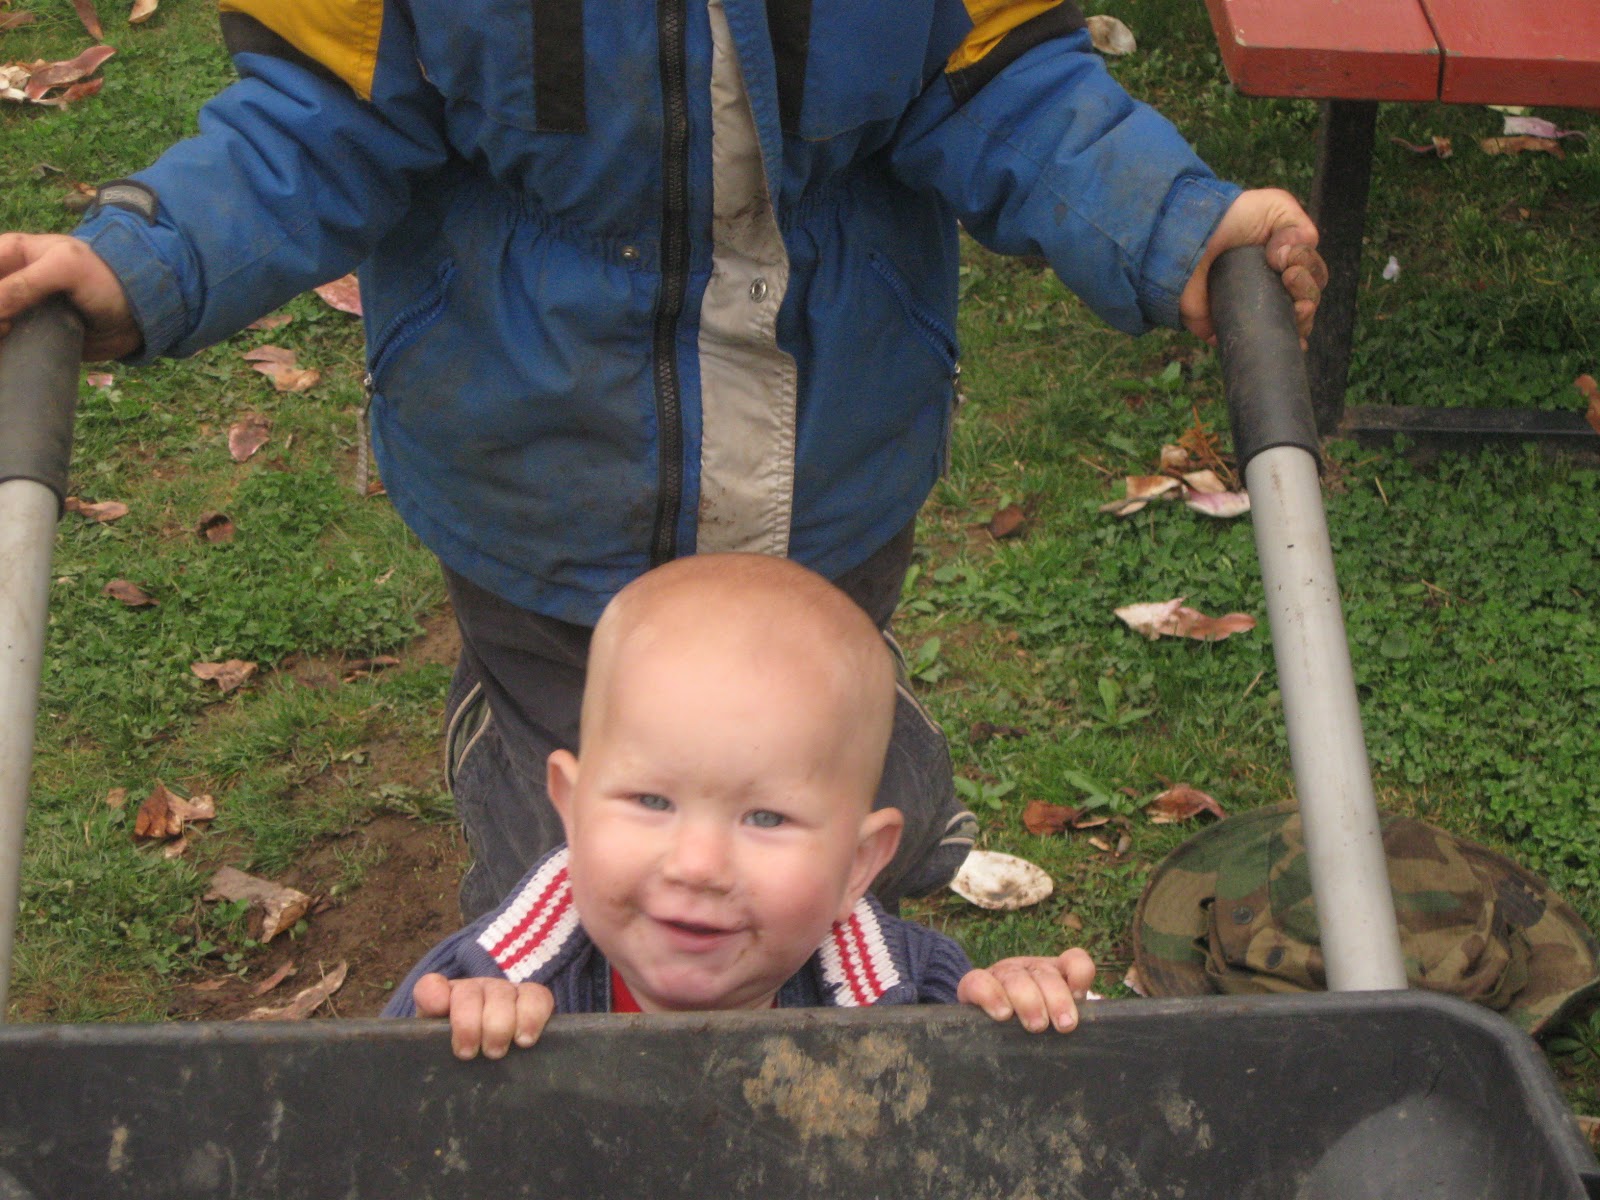
Paul hung the baby swing in the magnolia low enough that the baby can crawl in and out on his own. It also means that the swing hits the ground if a bigger boy sits in it and doesn't over stress the branch.
We had originally wanted to construct wooden cages to match our obelisks, but ran out of time. Now we are thinking that next year, if we don't use the string again, we might try a method where you suspend cattle panels horizontally and add layers as the tomatoes grow. One thing we've reconsidered is storage during winter, and stakes or panels will be easier to store than wooden cages. We might also just invest in some heftier hardwood for making beefier stakes.


We put in some late cucumbers (in the bed under the weeping cherry that I managed not to photograph) and finally got the watermelon patch out and planted. I don't know if you can tell, but this is sort of around back of the porch from the more formal part of the garden.


Here you can see where the boys started this morning laying out more cardboard to be covered by the (new) massive pile of woodchips currently in the driveway. It is really a mess of weeds back here, and we hope to control them with the woodchips and better utilize this space next year, perhaps moving some of the more unwieldy crops (like the winter squash) from the front?

Just up and to the left and out of view in the above picture is where the garlic is. There wasn't any where else for it to go when I planted it in the Fall and all this was a nebulous dream, but it doesn't get enough sun at all. Would that cause this?


It was looking so happy in spite of the lack of sun, and now it sort of went pfft. Maybe it needs more water? Another feeding? Or maybe its just too shady?

In the foreground of that same picture, you can just see the start of an unfunctioning water feature we inherited.

We aren't sure what to do with this place, but remember that toad we wanted?

I think he's got his work cut out for him. In addition to the slugs I spoke of, we also have earwigs.

And caterpillars.


Not sure who it is who's done the most damage to these cabbages and broccoli, I think it has been a group effort, but when we first harvested the broccoli, I made my beloved pick off the caterpillars. And were not talking half a dozen. Paul picked no less than 40 caterpillars off the first two heads we harvested. YUCK! We DID manage to clean it off and eat it, but we're not sure it was worth it, and  I'm a little skittish about collecting all the new stuff. A dear friend said that she just stopped growing it for that reason. We're going to try again for a Fall crop and see if there are fewer icky invaders than in the Spring/Summer.

Speaking of caterpillars and hopefully butterflies, this bush is a butterfly magnet.


We don't know what it is. We thought it was terribly ugly when we first moved in last March, but in the summer it develops a lot of little pink blossoms that the butterflies and hummingbirds seem to love, so we didn't get rid of it. Before the fence was built, it sprawled over in front of the dining room windows, but it keeps mostly to itself now with the fence as support.


We also inherited some lovely roses in the front that were at their peak a few weeks ago (though, last year they kept coming back into November!) just after Paul built and installed the gate. The green does make a lovely backdrop! There to the left of the gate, I planted some Zinnias. There aren't as many coming in as were planted, but I'm hoping they will fill in later in the summer.


And just around the corner from the zinnias, you can see the patches of corn and rows of sunflowers coming in along the front of the fence. We eventually want to have blueberry bushes here, preferably a variety with red wood as a winter ornamental, but for now, we're hoping the sunflowers will offer late summer color and that the corn, in addition to a couple of meals (we plan to manually pollinate it just in case it isn't thick enough), will be seasonally attractive for Fall.

And back inside the fence, you can see that strawberry patch that was the first thing I posted about!We have cute little pansies and heads of romaine bordering in the block.


And we did manage to collect a few strawberries for eating in this first year. I did not pull off the blossoms as is done for a traditional patch since I did not want to encourage runner growth (the reason it is done). I want to keep the pretty formal design with bigger berries for eating rather than a filled in patch with high numbers. We'll see. It seems to work for Mel Bartholemew in his square foot gardens!


And here at the entrance, we have long beds with romaine, bachelors buttons, and cosmos.


I am so thrilled to find the first happy cosmos bloom peaking through. I've never grown them before, and I was nervous that I was going to name my blog for this favorite flower only to somehow fail at growing any!


Phew! That was a LOT of catching up! If you made it this far, you deserve a medal. Hopefully I can become more disciplined in blogging about little things along the way. Afterall, it is all those little joys that make gardening such a delightful journey, and I would like to take more time to revel in them!

 (I normally use Firefox, but for some reason, Blogger gives me fits with inserting pictures now. I try to write posts in Explorer, but some of the pictures don't appear in Firefox, though I have no idea why! So, if it looks like pictures are missing, you might try switching browsers.)